Adjusting focus on an IBM G96
Published on
2020-04-08
Updated on
2020-10-18
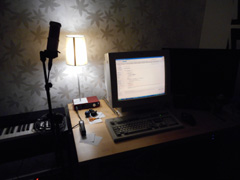
I recently bought a used IBM G96 CRT monitor, in fairly good condition. The only problem was the blurry picture. Luckily, I was able to fix this by adjusting a pair of screws inside the monitor. Because I couldn’t find any service manual for the G96, I thought I’d share some pictures of how it’s done, so that it will be easier for other people to figure out.
My IBM G96 is still blurrier than my Eizo FlexScan T68, but adjusting the focus made it a lot better.
Warning: The insides of a CRT monitor are very dangerous to touch. Even if the monitor is turned off, components may still carry charges of over 20,000 volts. And even if you were to manually discharge everything, you still need to turn the monitor back on while you are adjusting the focus in order to judge the results. Please use this page only as a supplement to other sources, such as service manuals or more thorough online tutorials. With that said, if you’re careful not to touch any unknown objects, use an insulated screwdriver and keep your other hand behind your back, you should be fine.
Here is the general procedure:
- Unplug the monitor completely.
- Remove the four screws holding the cover in place.
- Remove the cover (I recommend placing the monitor
face-down for this).
- Plug the monitor back into the computer and turn it on.
- Adjust the focus screws with an insulated screwdriver, all the while checking if the sharpness improves.
- Once you’ve found the best setting, unplug the monitor
again and put it back together.
While you are adjusting the focus, use the highest supported resolution (1920×1600). When you are done, I recommend using a lower resolution, such as 1024×768, as the G96 is still not powerful enough to display crystal-clear text at 1920×1600.
The procedure is mostly straightforward and common for most, if not all, CRT monitors. There are, however, a few things specific to the IBM G96 that I wanted to cover.
How to remove the cover
The cover is held in place by four screws – one pair on
the each side of the monitor. To reach these, you first
need to remove the small piece of plastic that covers each
screw, pictured below.
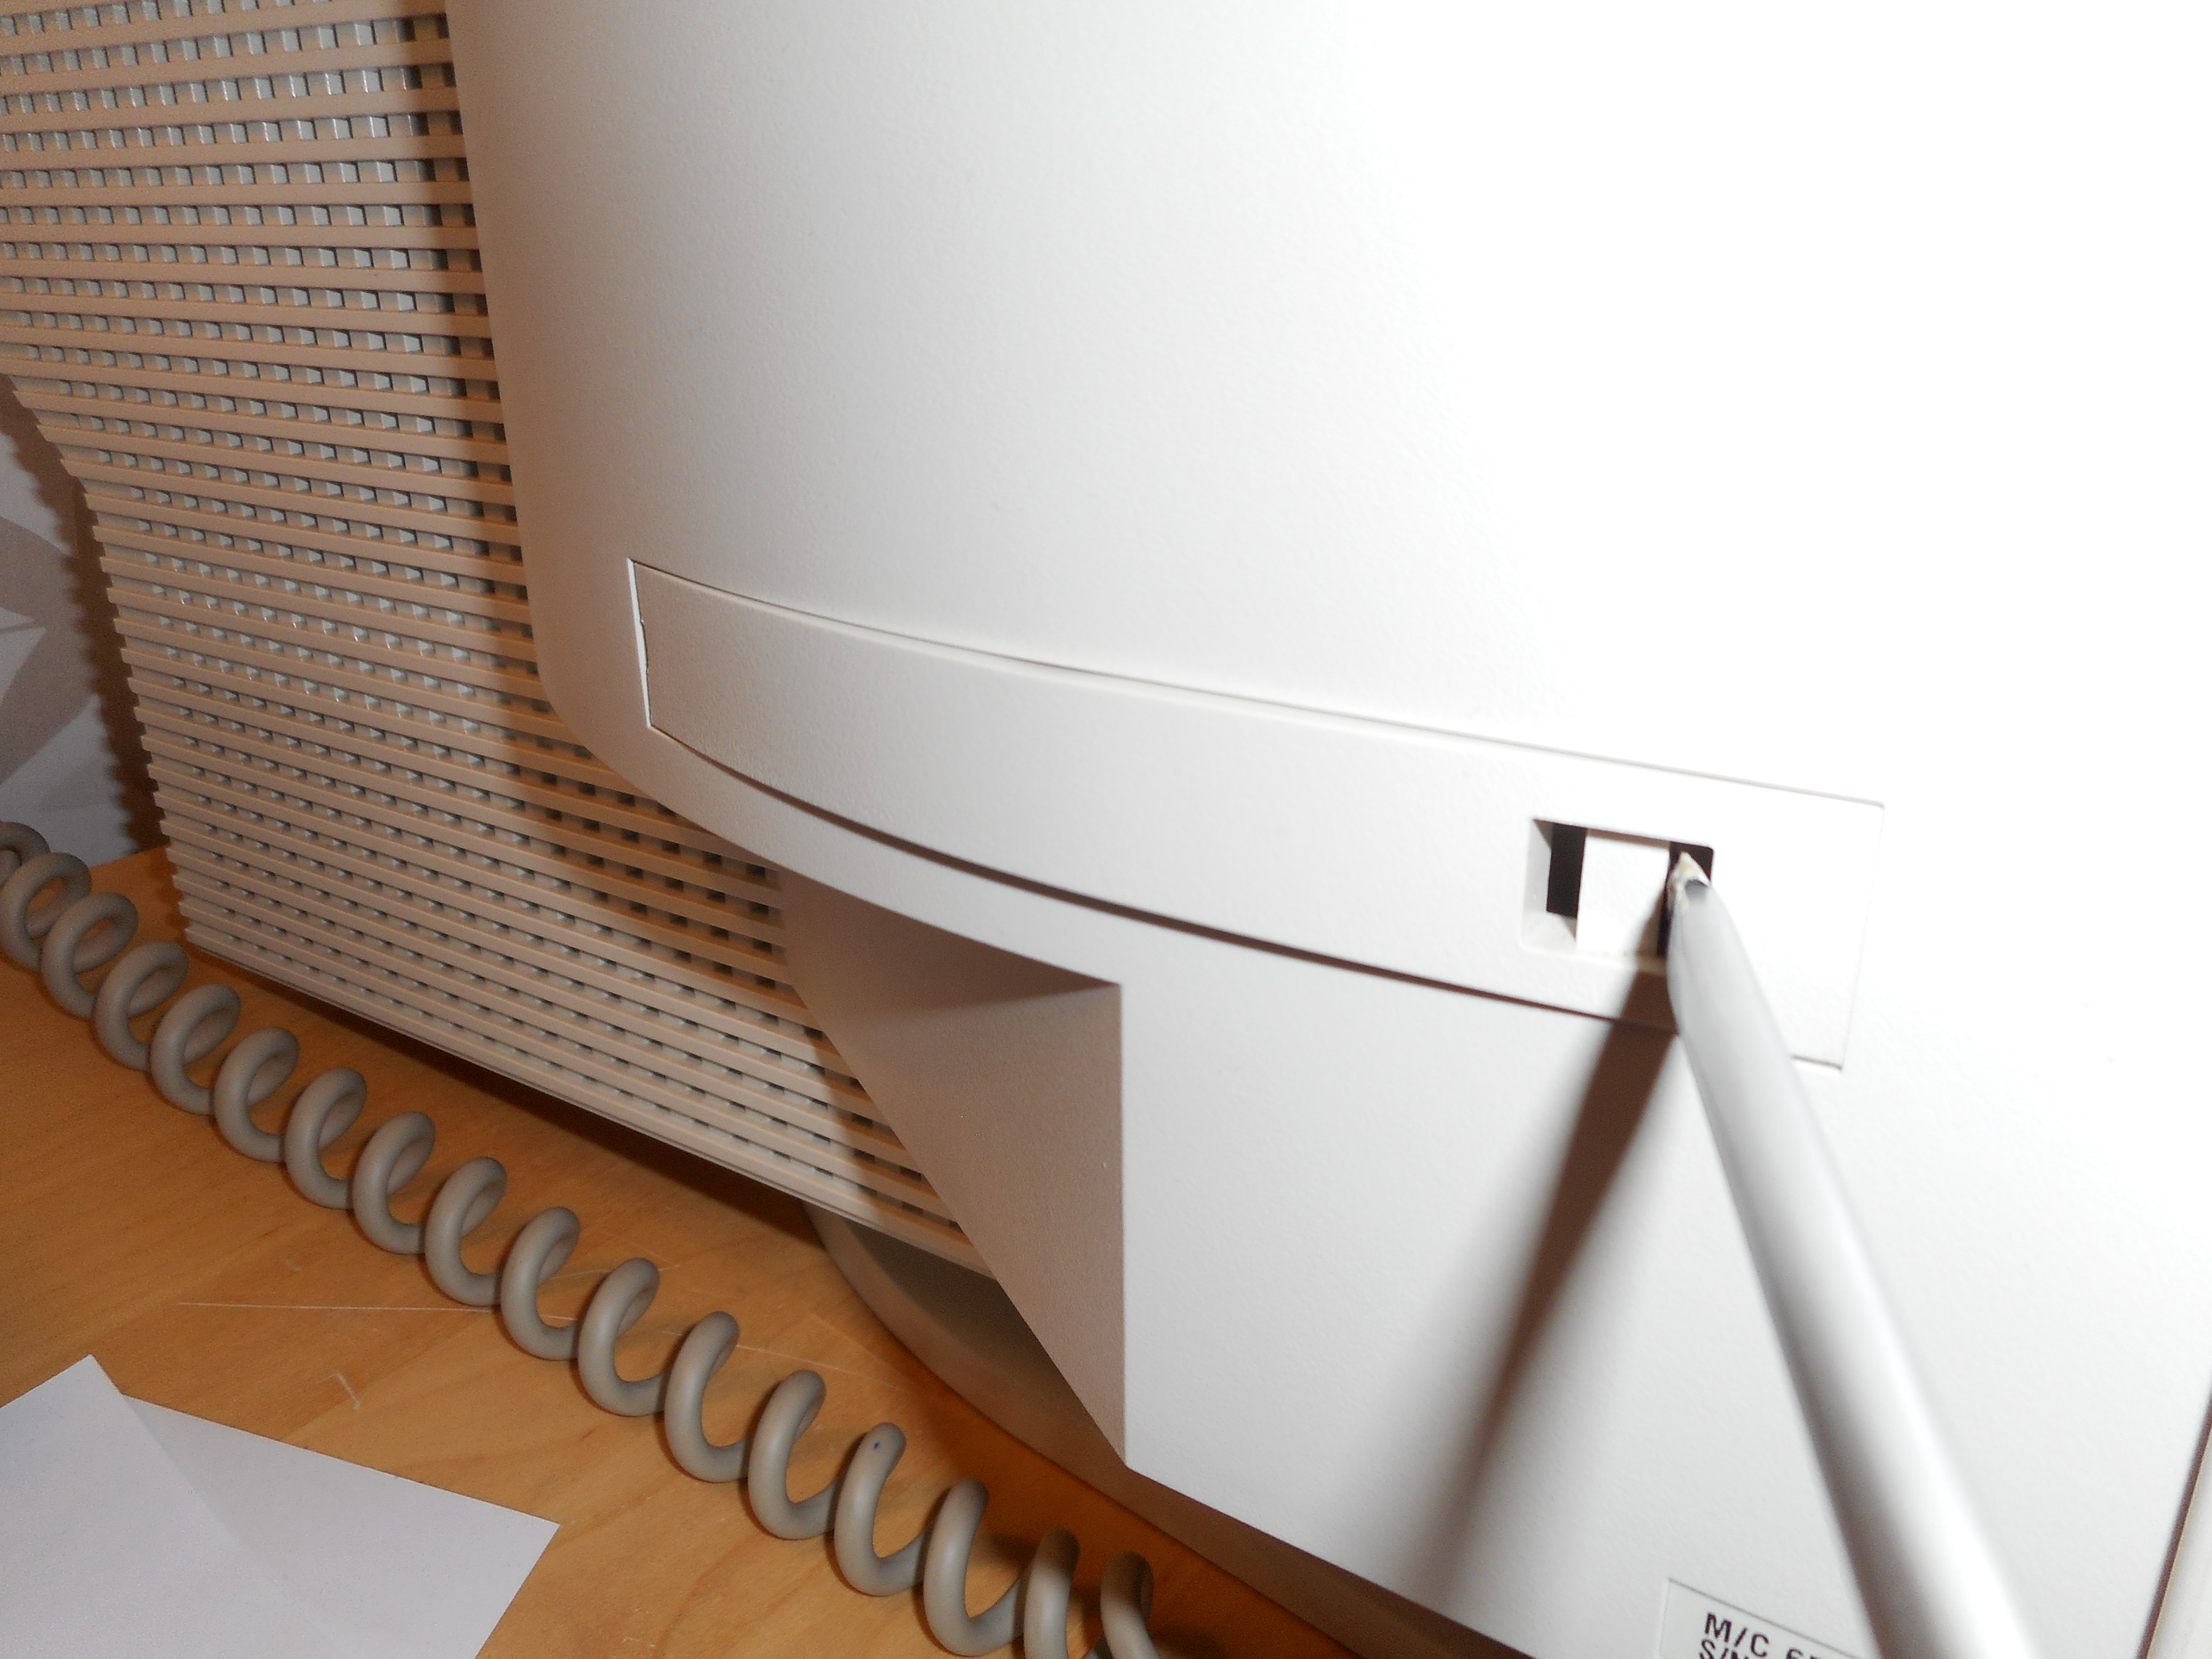
As shown above, you can remove each cover by carefully
prying it open with a flat-tip screwdriver. This will
reveal the screw, pictured below.
Remove the covers of all four screws and unscrew them
with a cross-tip screwdriver. Then, after putting the
monitor face-down, drag the cover up. Be sure to drag it
all the way through the VGA cable, so that you can place
it somewhere else where it won’t be in the way.
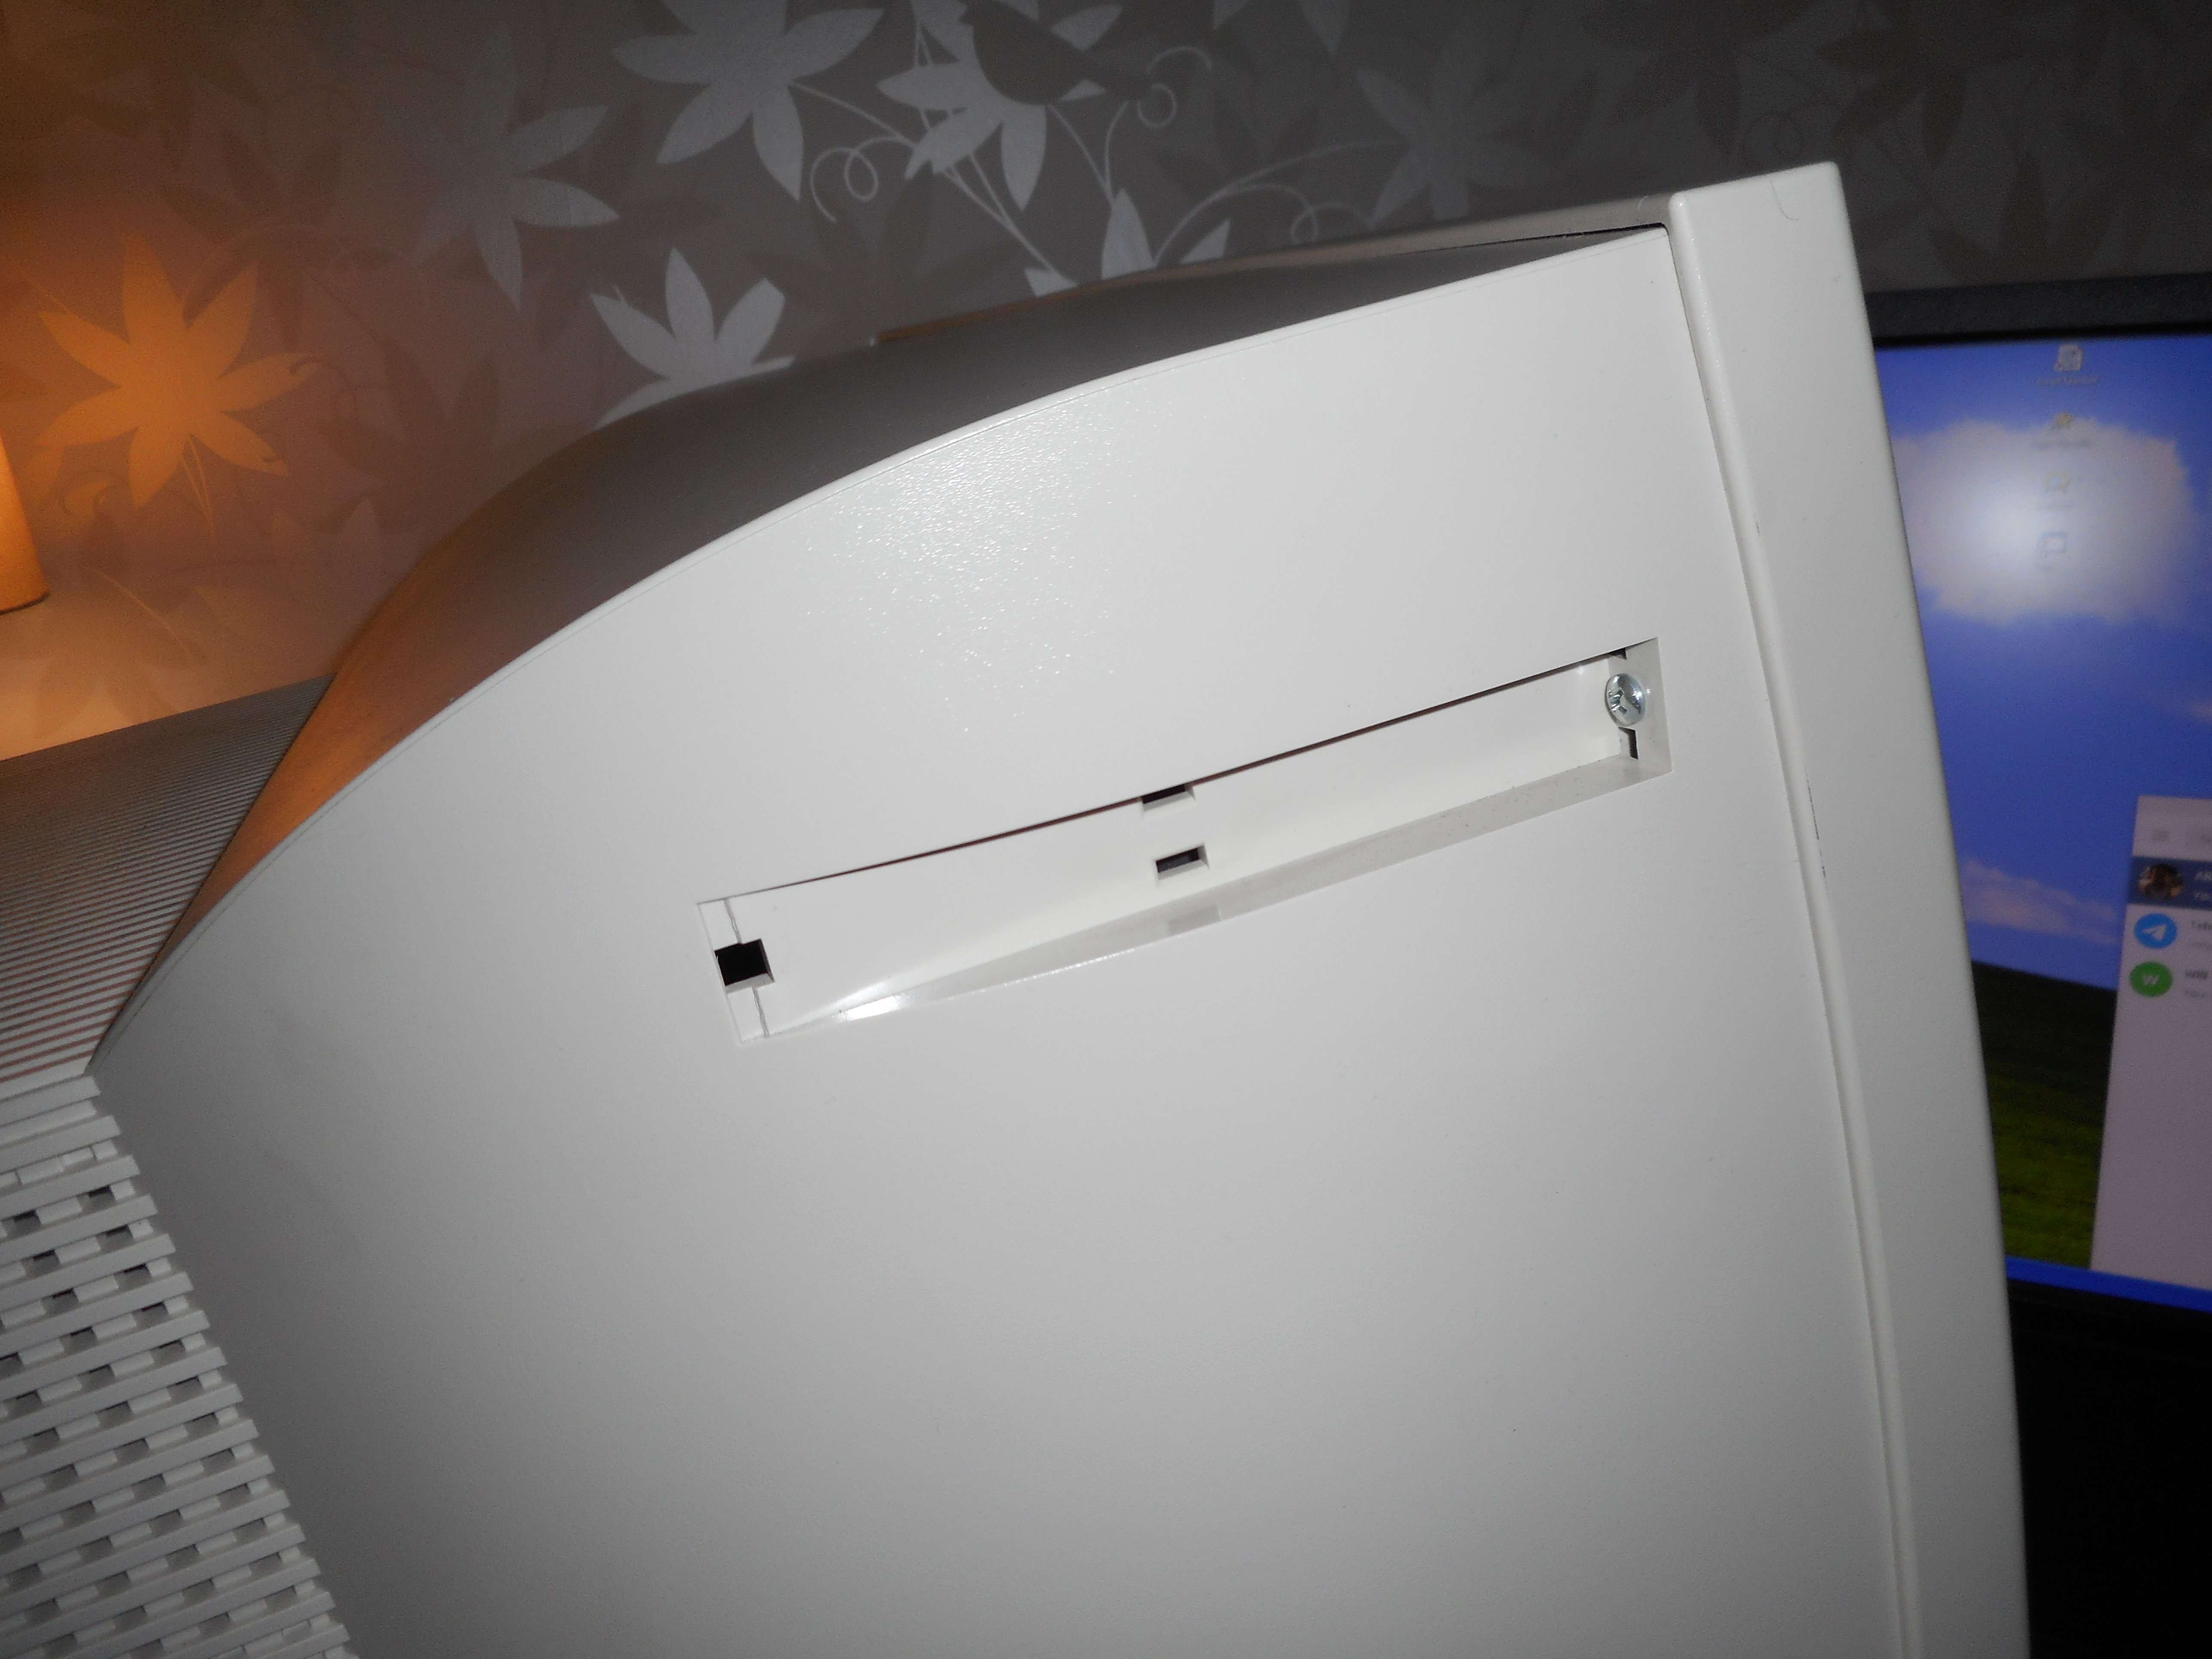
Where to find the focus adjustment screws
Once you’ve removed the cover, you can put the monitor bottom-down again.
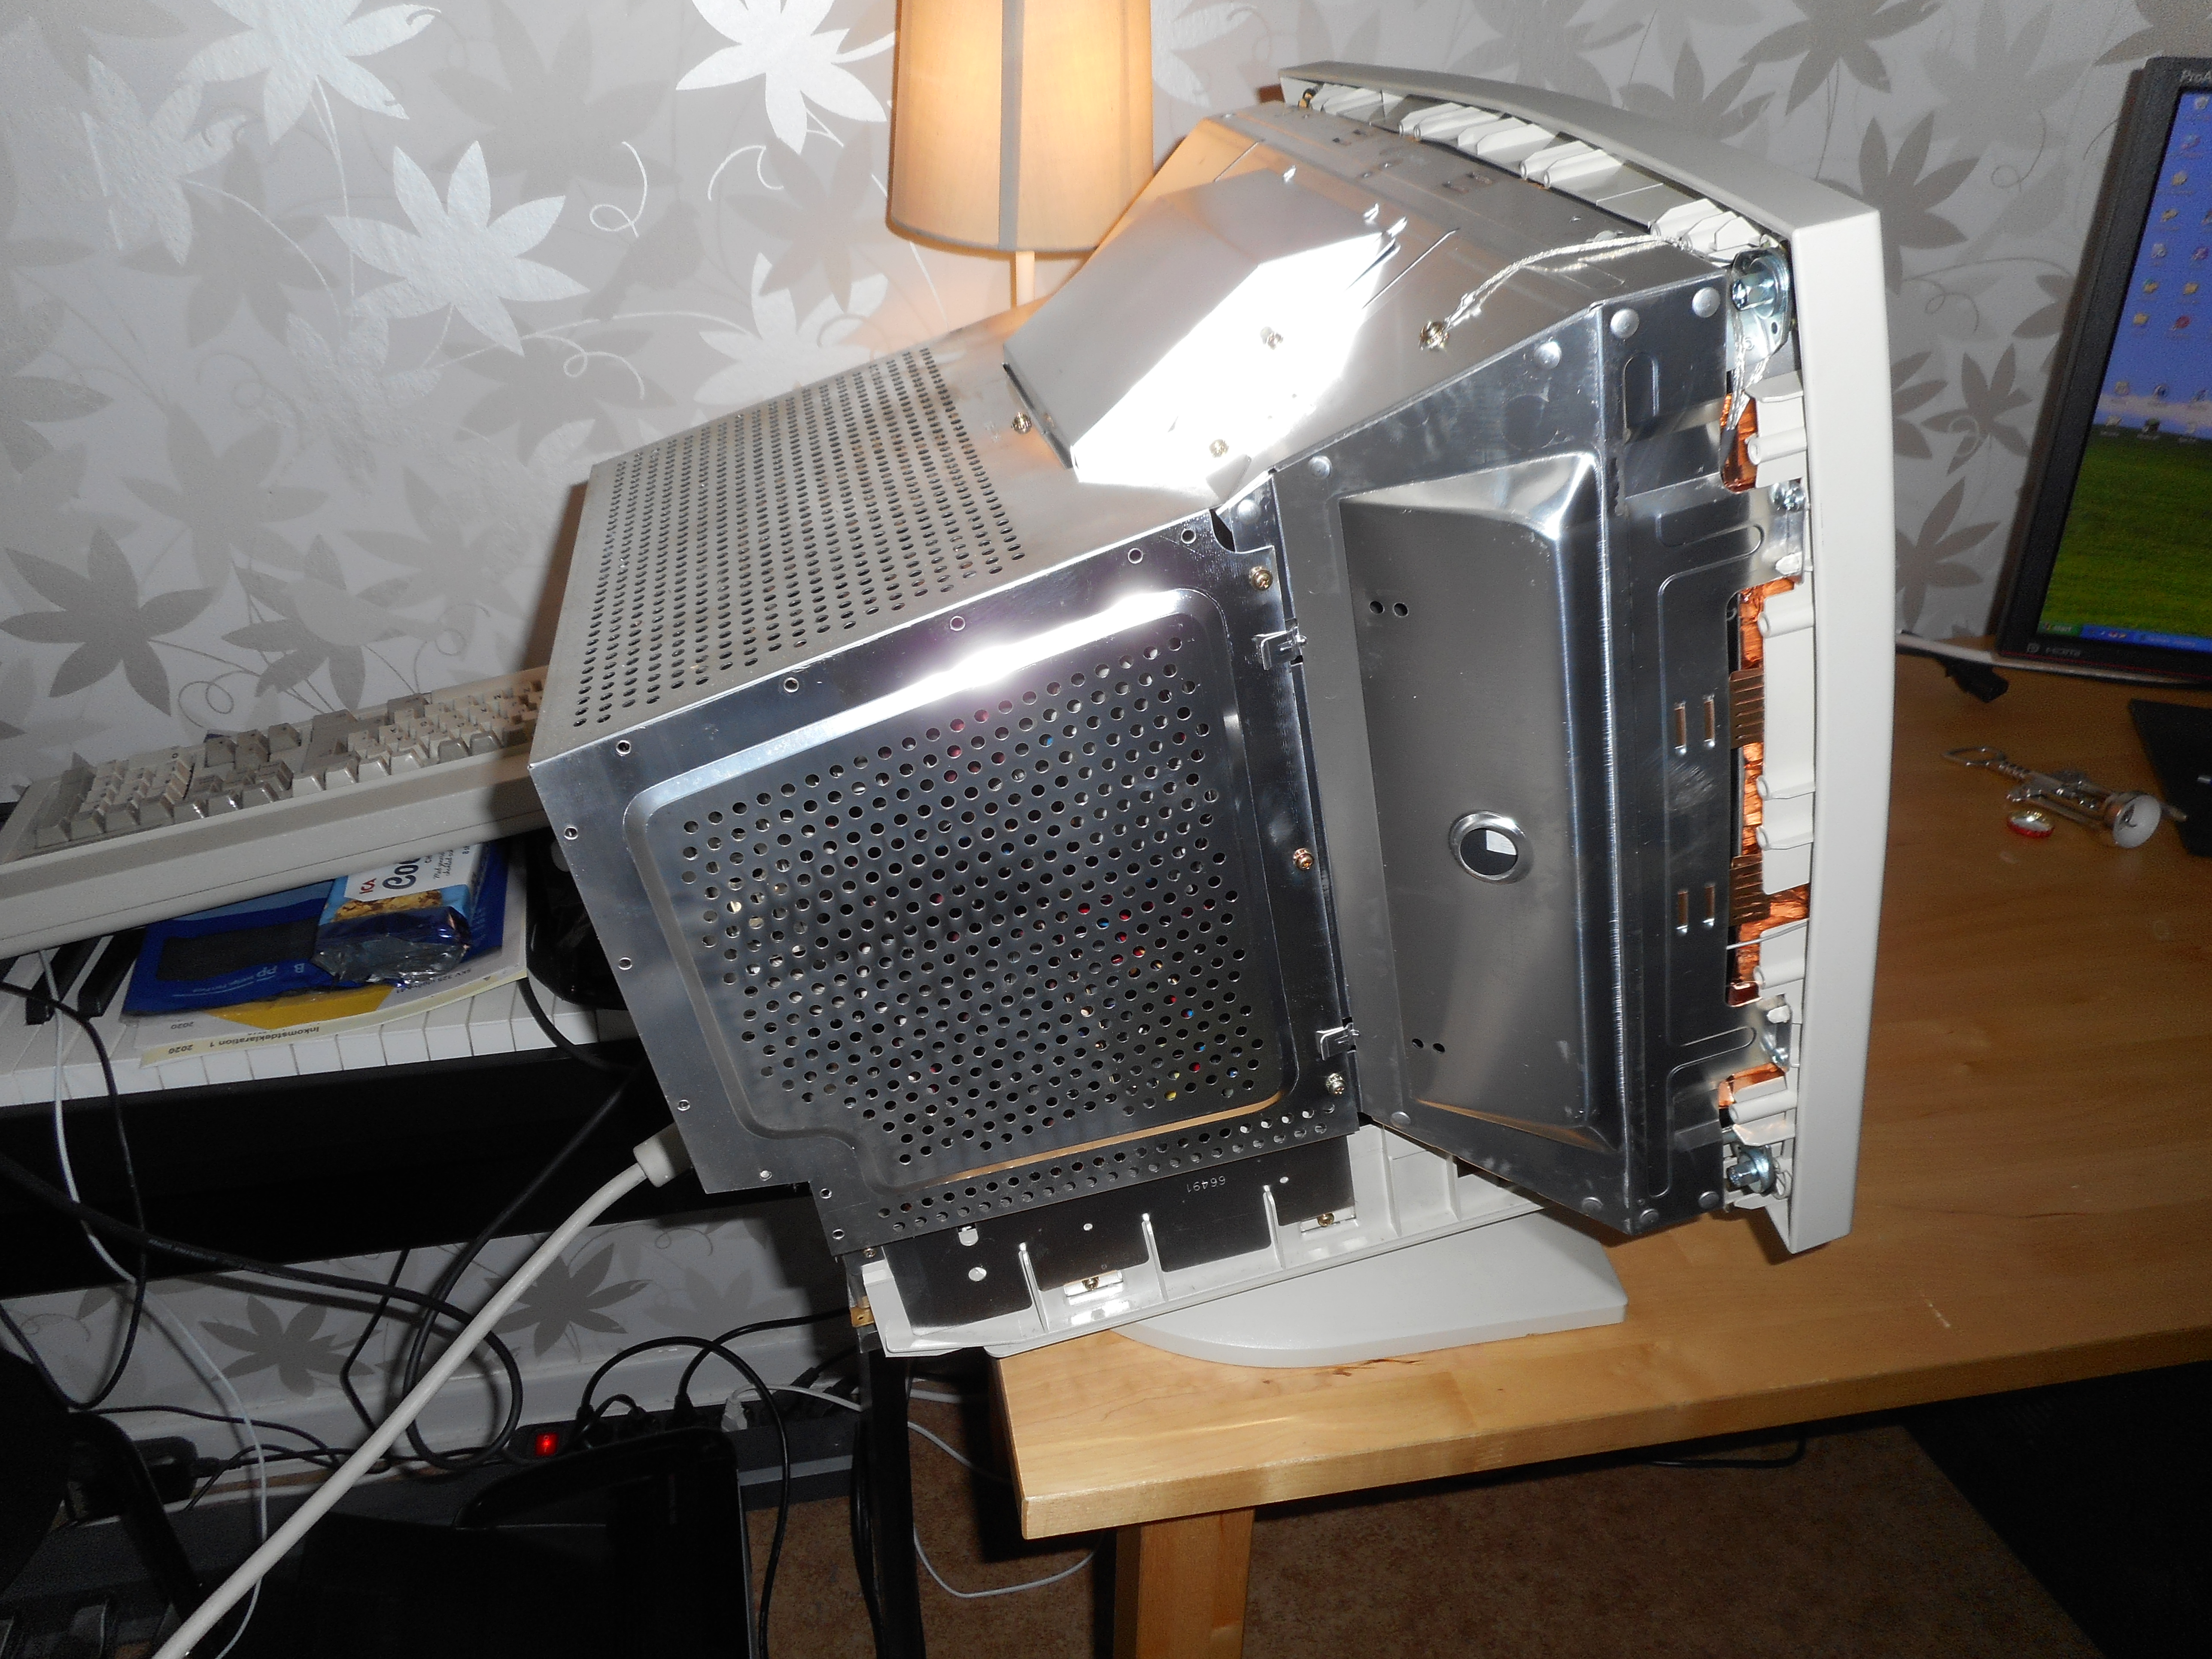
As you can see, the insides of the monitor are concealed
a big metal box. Luckily, you don’t need to remove this
box. The focus adjustment screws are accessible through a
hole near the bottom-left.
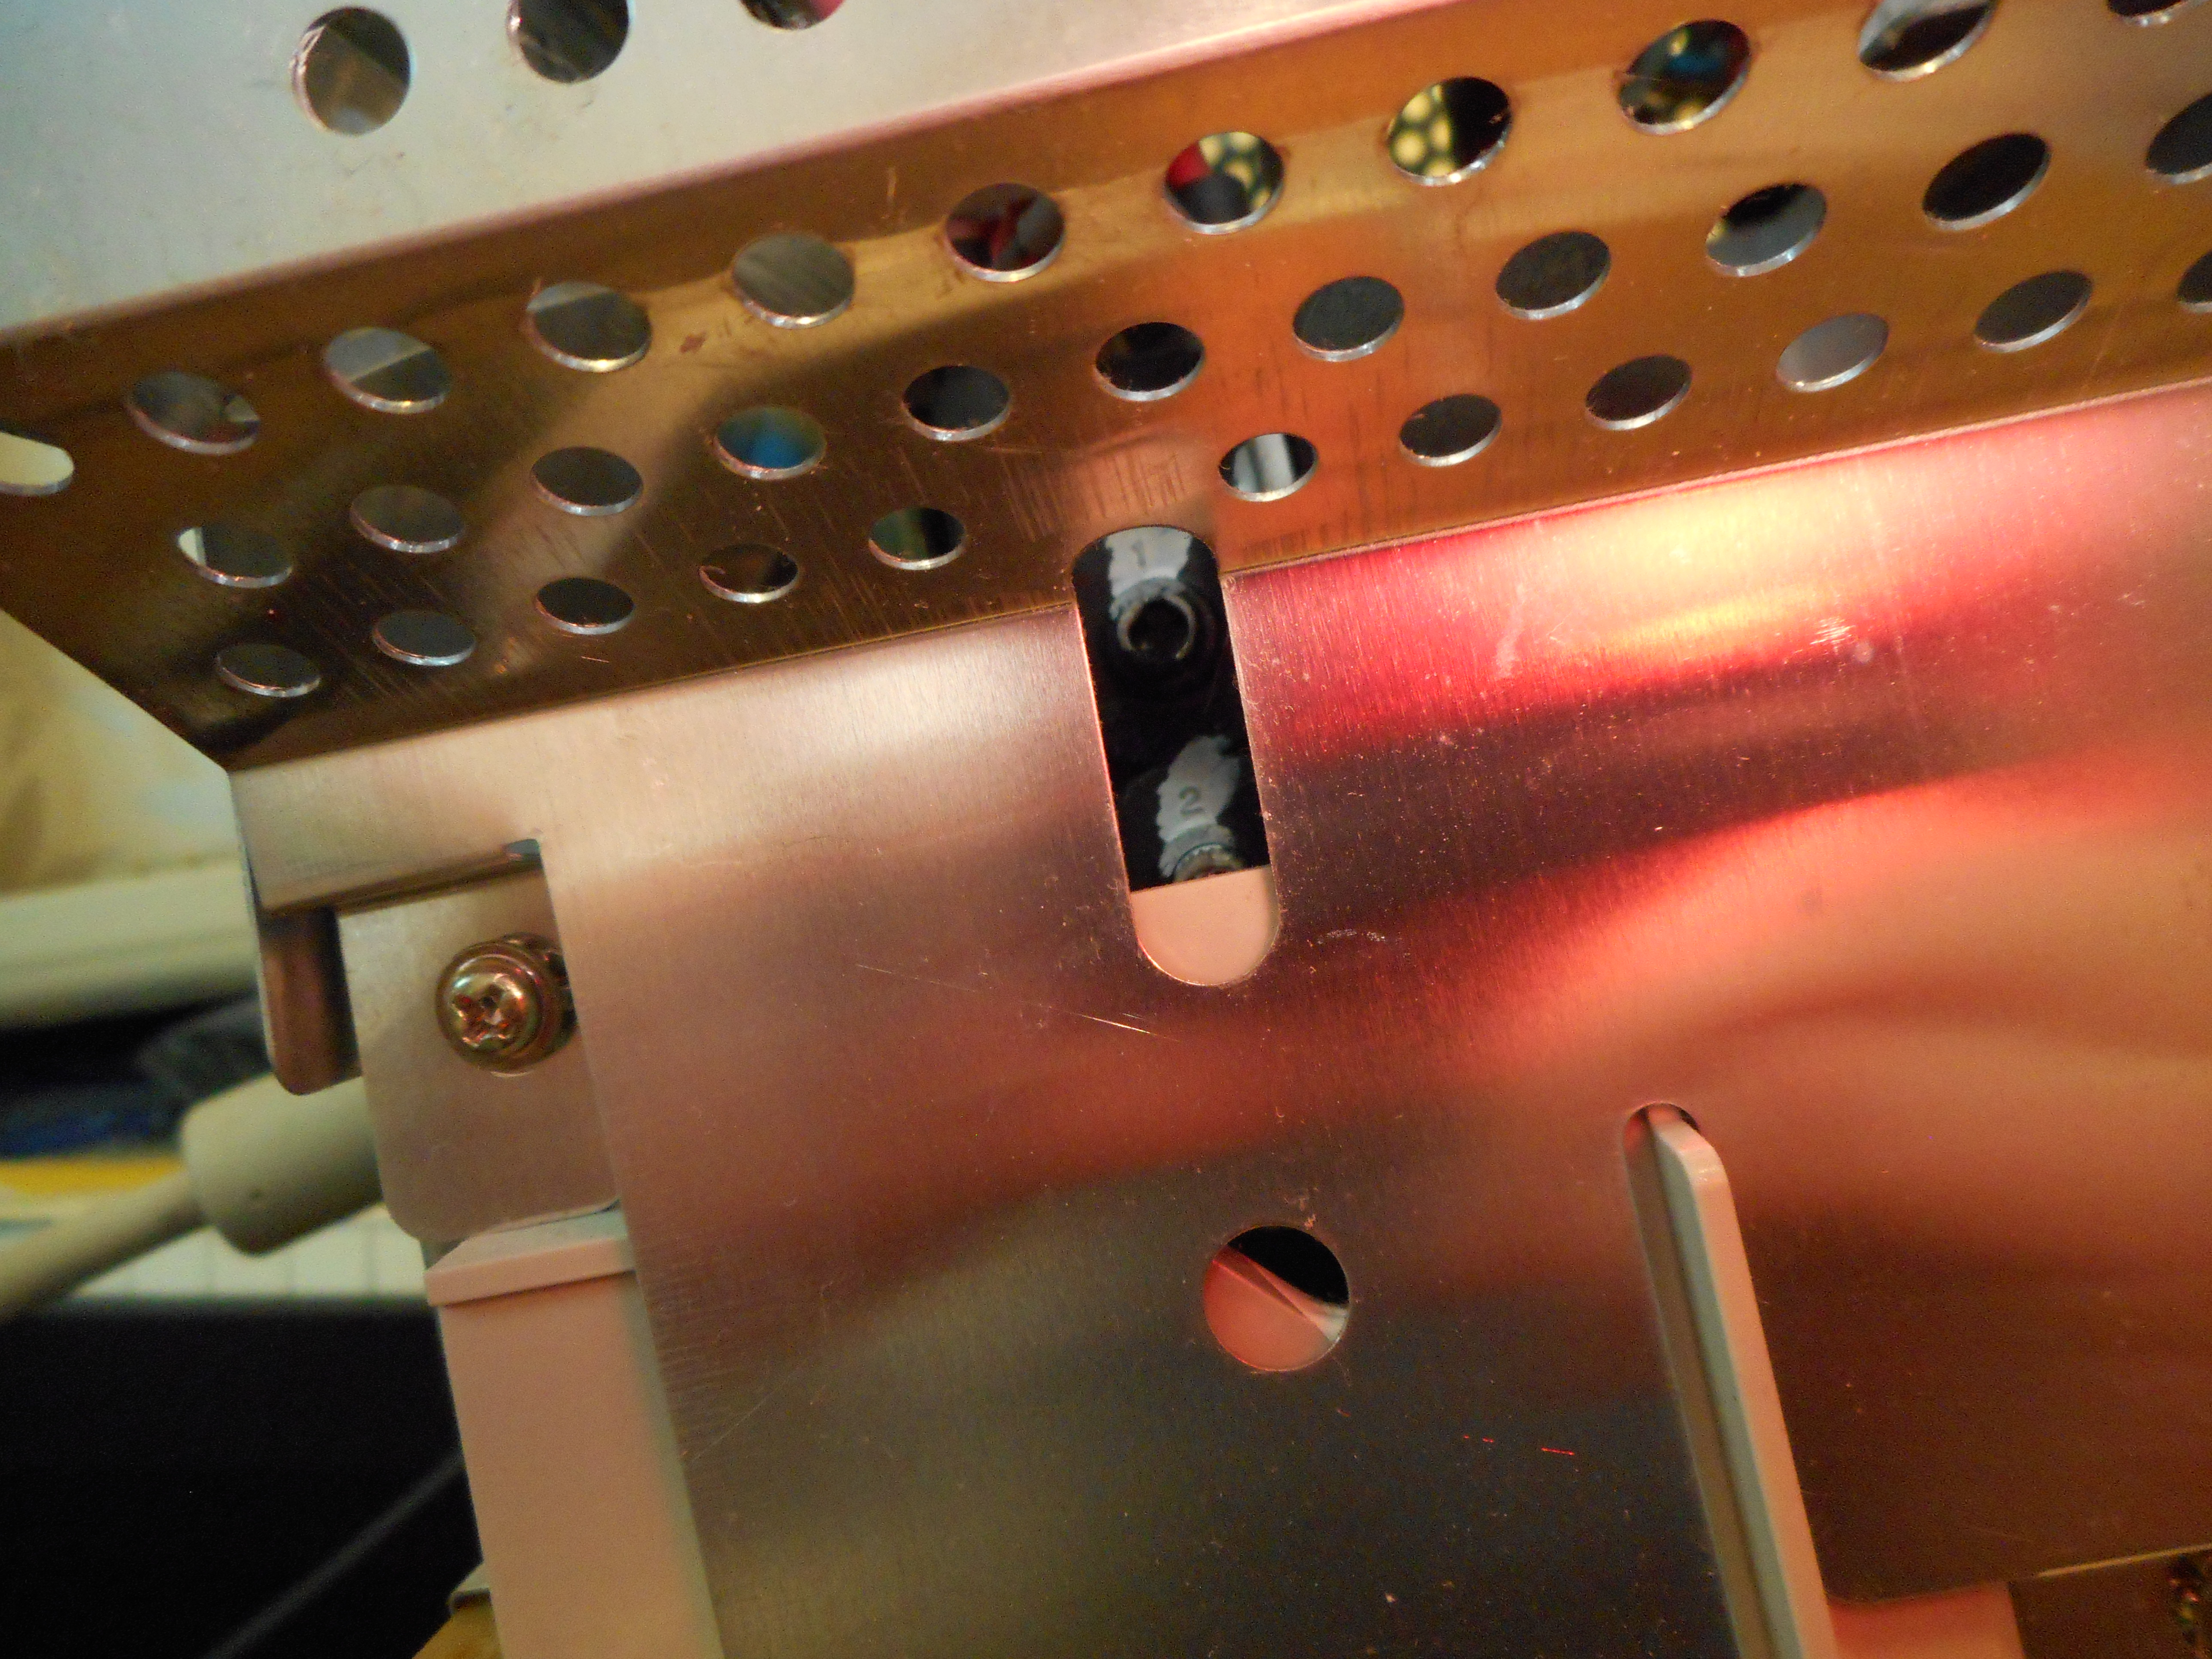
Above is a close-up of the hole. You can see the VGA cable coming out of the monitor on the left. If you look closely, you’ll see two screws, one labeled “1”, the other (slightly covered in the picture above) labeled “2”.
Both screws adjust focus! This is not the case for
all CRT monitors – some have just a single focus screw and
another screw called the “screen” screw (which on this
monitor is accessible through the small hole at the
bottom, pictured above) – but the IBM G96 has two focus
screws, and you’ll need to adjust both.
Use an insulated cross-tip screwdriver to turn the screws. Because there are two screws, which interact with each other in a non-obvious way, it is possible to completely “lose track” of their correct positions in relation to one another. If this happens (as it once did for me!), keep fiddling with both screws to try to get back to where you were before – you haven’t broken anything, you just need to find your way back.
An earlier version of this page stated that there was only one focus screw. This is what I first thought, until I tried adjusting screw “2” (which I originally thought was the screen screw). When I adjusted both screws instead of just one, I was able to get much better clarity.
How to put the cover back
Once you’ve adjusted the focus and achieved as satisfactory a result as you can get, simply slide the monitor back on, but be aware that there are “rails” at the bottom of the monitor that the cover must slide into. Keep an eye on these and make sure that the cover goes inside and not outside of them.
Good luck! I’ll leave you with a close-up of my screen
after the focus adjustment. It’s hard to take a good
photograph of the results, but the adjustment was
generally successful.
